
Содержание
User Tools
Site Tools
Table of Contents
If supported by both devices, consider using WDS, Layer 2 GRE tunnels (“gretap”), or mesh networking.
Using relayd as instructed in this article isn’t guaranteed to work and only supports IPv4
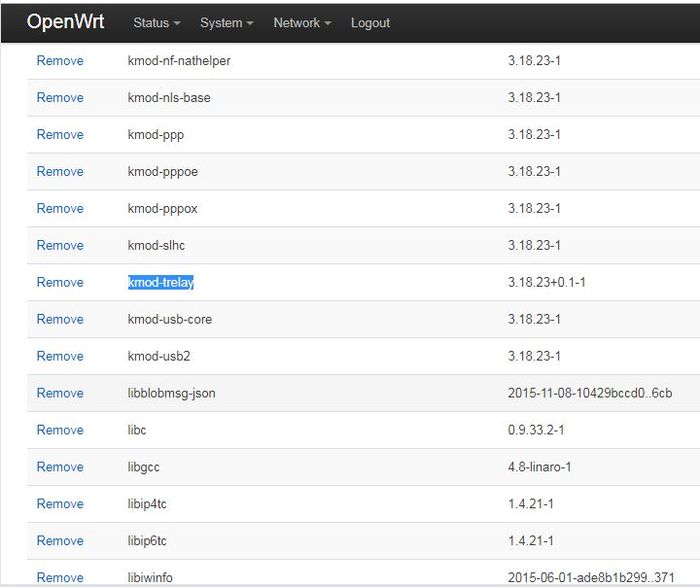
Instead of relayd it should be possible to use kmod-trelay, the only information about using it can be seen in its source code, if you used it successfully please add a section for it in this article.
In this article you will see how to configure your device to become a Wi-Fi extender/repeater/bridge.
In some cases, the wireless drivers used in OpenWrt do not support “Layer 2” bridging in client mode with a specific “upstream” wireless system. When this occurs, one approach is to route the traffic between LAN and the upstream wireless system. Broadcast traffic, such as DHCP and link-local discovery like mDNS are generally not routable.
When other options don’t work or are too complex to implement, the relayd package implements a bridge-like behavior for IPv4 (only), complete with DHCP and broadcast relaying. This configuration can be done through SSH (remote terminal) or through Luci GUI .
For the sake of simplicity, I’ll call the device we are working on “Wi-Fi extender” from now on.

Required packages
Compulsory
relayd package
Optional
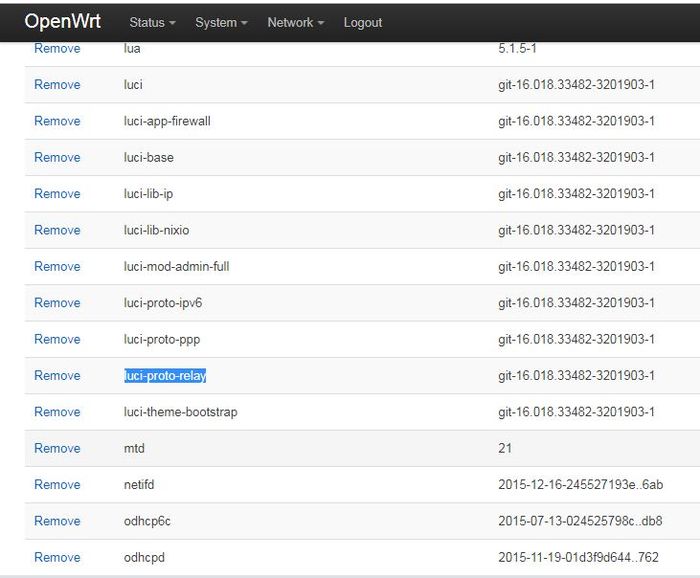
luci-proto-relay — for LuCI Web Interface
Setup with LuCI Web Interface
LAN Interface
Begin by configuring and enabling the normal Wi-Fi network and configure it as you want it.
If you are making a simple Wi-Fi repeater (a device that extends the same Wi-Fi network’s coverage) it’s a good choice to set this Wi-Fi network to be the same as the one of your main router, same name, encryption, password, and so on. This way, devices connected to your (wider) network will automatically stay connected to the best Wi-Fi network.
But you can also choose to have a different name/encryption/password if you prefer to.
Setting up a Wi-Fi network at this stage is not necessary if you want a “Wi-Fi bridge”, a device designed to connect ethernet-only devices to your existing Wi-Fi network.

We will now set up the client Wi-Fi network, the configuration needed to connect to another Wi-Fi network.
Once you are connected again to the Wi-Fi extender, go in the wireless networks page, and click on Scan button.

Choose the Wi-Fi network you want to connect to from the page and click “Join Network”.

Enter the Wi-Fi password, leave the “name of new network” as “wwan” and select lan firewall zone. Click Save.

You will land in the client Wi-Fi settings page, set other things as needed.
The most important settings are on the Operating Frequency line.
Set the Mode to Legacy if you are connecting to a Wi-Fi g network (like in my example) or N if you are connecting to a Wi-Fi n (and so on).
Set the Width to the same value that you set on the Wi-Fi you are connecting to (to avoid bottlenecking the connection for no reason).
Repeater Interface
Go in the Interfaces page, we will now add the relayd interface that will join the lan and wwan interfaces.
Click on Add New Interface.

Write a name for it (repeater_bridge is the name I used in the example), and then choose Relay bridge in the Protocol of the new interface field. Click Submit.

In this new interface’s setting page, select both lan and wwan in the Relay between networks list.

Move to the Firewall tab of this interface settings page and select lan. Click on Save and Apply.
After you have done this, it might be necessary to reboot the Wi-Fi extender.

This is the final result. Note how the client network has a ? instead of a IP address.
Firewall
The following part of the configuration should not be necessary (already default options or changed automatically), in case something isn’t working check this too.

Under the Network tab, click on the Firewall tab. Under Zones, change the forwarding for lan and wwan to accept
if you are doing this with a device that has a single radio, both Wi-Fi networks will stay on the same channel, and total bandwidth will be halved as the same radio is used for 2 different Wi-Fi networks.
Setup with CLI
Before doing any actual configuration, the Wi-Fi interface must be enabled in order to be able to scan for networks in the vincinity:
Now we can list networks in range using iw dev wlan0 scan , substituting your actual wireless interface for wlan0 if different ( ifconfig lists all available interfaces to find how your wlan is called)
iw dev wlan0 scan output example:
In the example, there are two networks, a Wi-Fi g one called Violetta and a Wi-Fi n one called GOinternet_EB20FB. The device was configured to connect to the one called Violetta.
These are the uci values that were added or changed by the configuration procedure.
For SSID, BSSID, and encryption you must use the info you got from the Wi-Fi scan above.
For an explanation of why these values were changed, please read the luci tutorial above.
Please note that the Wi-Fi network generated by the device in this example (the one called OpenWrt) has no password nor encryption.
This was done because the focus of this article was getting the relay bridge up and running.
You will likely want to set up your device’s Wi-Fi network in a more secure way, as explained in the Wi-Fi setup page here.
Accessing the OpenWrt device
[If someone can describe a solution without modifications to the client network configuration that would be appreciated!]
Adding IPv6 support
We suppose that you created a wwan interface when you joined to the other Wi-Fi network as suggested earlier in this guide; otherwise, change the dhcp.wan.interface=… line accordingly.
Wi-Fi extender with NAT (or what to do when all else fails)
prerequisites: — router with two initial interfaces (LAN , WAN )
Имеется такая сетка:
Клиенты))) (((OpenWRT))) (((Mikrotik
((( — это wifi.
Mikrotik раздает wifi, но до клиентов он не дотягивает. Между ними роутер с OpenWRT, который нужно настроить как репитер.
К микротику подключено записывающее устройство для ip камер по кабелю, а сами камеры — клиенты в одноименном сегменте сети. При этом принципиально чтобы запис. устр-во видело напрямую все камеры и их ip, чтобы адреса выдавал dhcp микротика. То есть nat на openwrt неприменим.
P. S. Если есть такая возможность в других альтернативных прошивках, то скажите
Пост создан прежде всего для себя, чтобы не забыть настройки.
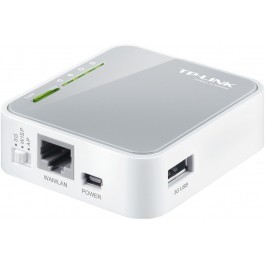
Имеется мобильный роутер TP-Link TL-MR3020 с прошивкой OpenWRT. Необходимо настроить WiFi AccessPoint в режиме моста ( bridge ) между беспроводной и локальным сетями.
Важно: не все драйверы поддерживают режим моста. С этим пришлось столкнуться в данном роутере. Штатно настроить мост у меня не получилось. Но есть пара дополнительных пакетов, которые могут помочь обойти данную проблему. Ставим пакеты kmod-trelay и luci-proto-relay.
Далее настраиваем три интерфейса.
Интерфейс LAN имеет стандартные настройки Ethernet порта со статическим адресом/маской/шлюзом и DNS в локальной сети, куда будет подключаться роутер MR3020. Службу DHCP для данного интерфейса отключаем.
Интерфейс WWAN связан с WiFi. Особо настраивать на нем ничего не нужно, поэтому поставил на нем протокол Unmanaged.
Интерфейс BR объединяет два предыдущих в софтовый мост, и тип протокола у неги установлен Relay bridge.